Creating Posts
Overview
Posts are the content-type used for the news articles that display on the homepage and within the “News” section of the site.
Below is an overview of the creation and display of posts within the Georgian Group’s WordPress site.
The points below are expanded on within the main article.
- Organise your post’s content
- Via the WordPress dashboard choose Posts ⇒ Add New
- Fill in the basic details – it is a good idea to complete the following before entering content: page name, format, category, featured image.
- Save draft
- In the content editor choose the Pro tab and click the “EDIT WITH PRO” button
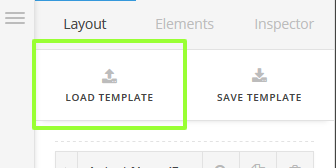
- Choose load template from the top of the Cornerstone editor and select your desired template
- Click on the settings icon (small cog icon) and toggle “Allow comments” to “OFF”
- Modify and delete sections as necessary
- Paste in your content using the Paste as plain text button
- Publish the page
- If a news post add the post to the global menu
- If a news post add the post to the news sidebar
Organise your post’s content
Blackbaud recommends using a word processor such as Microsoft Word to create the post’s text – especially if the post is longer than a few paragraphs.
Once the content has been written it can be copied and then pasted in to the Cornerstone or WordPress editors after the post has been created.
Create a new post
Log into your site via https://georgiangroup.org.uk/wp-admin/
Using the left hand navigation of the Dashboard choose Posts → Add New
(This can also be accessed through the top Admin menu via the +New navigation button)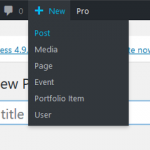
Fill in the Post’s basic settings
Fill in the basic settings – it is a good idea to complete the following before entering content
- Page name
This will appear as the title of the post - Format
(standard, link, gallery, quote, image, video, audio) - Category
- Leaflet – if this post is going to appear in the advice leaflets
- News – for all news items (choose one of the following as a sub category)
- Announcements & general news
- Awards, grants & funds news
- Casework & campaigns news
- Uncategorized – avoid using this category.
Create a new category if your post does not fit any of the existing ones.
- Choose template – default or content left sidebar right
- Set Featured Image
Click on “Set featured image” in the featured image box. This will take you to the media library – choose an image or add a new one by dragging and dropping an image from your operating system’s file explorer.
Save draft!
After entering the basic settings it’s a good idea to save the work you’ve done. Once the post is saved you will also be able to set the permalink of the post.
Page name and permalink
Once your post is saved WordPress assigns an automatically generated permalink (page URL) – usually following the pattern of domain + yyyy + mm + dd + page-name. This format can be set under Settings → Permalink Settings.
The end part of the permalink can be modified by clicking on the Edit button at the end of the displayed permalink.
Access Cornerstone Pro and Add Content
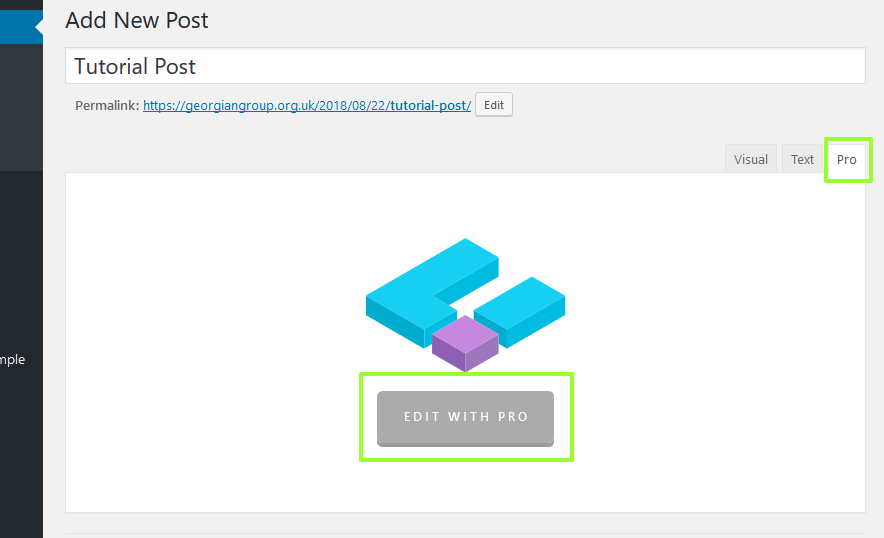
- Click on the “Pro” tab available at the top of the text editor
- Click on the pro button in the center of the text editor – the Cornerstone editor will open
- Click on the LOAD TEMPLATE button and choose a template (for the psts choose GG Magazine Style Post)
- Access the settings by clicking on the cog button in the Cornerstone sidebar.
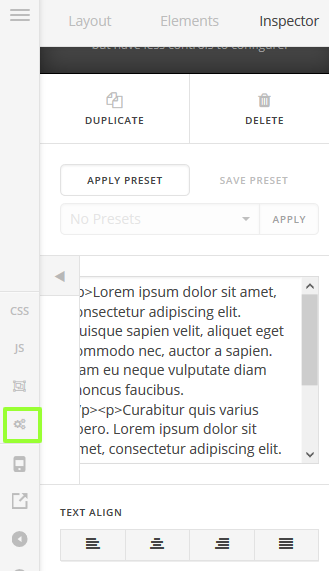
Toggle the “Allow Comments” button to “OFF” by clicking on it. Click on the DONE button.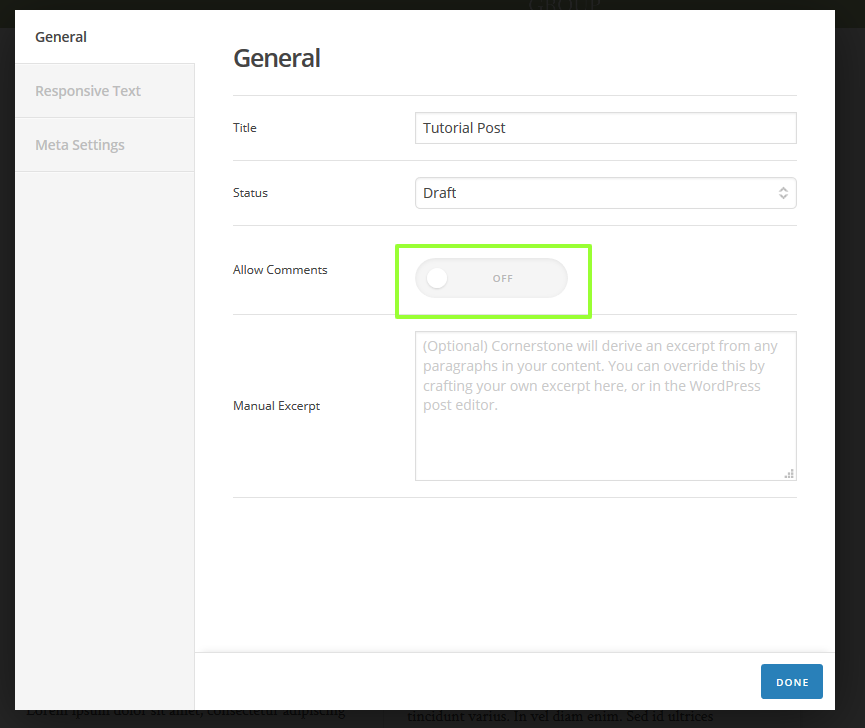
- Delete any superfluous sections
- Click on one of the text or columnize elements and access the rich text editor provided.
Use the paste as plain text button to add your content.
For more on editing content with Cornerstone please read the documentation provided in this section. - Once happy with the content, save your work.
Publish the page
- Open up the settings again (cog icon) – the General tab should be selected by default
- On the General tab change the status to Publish
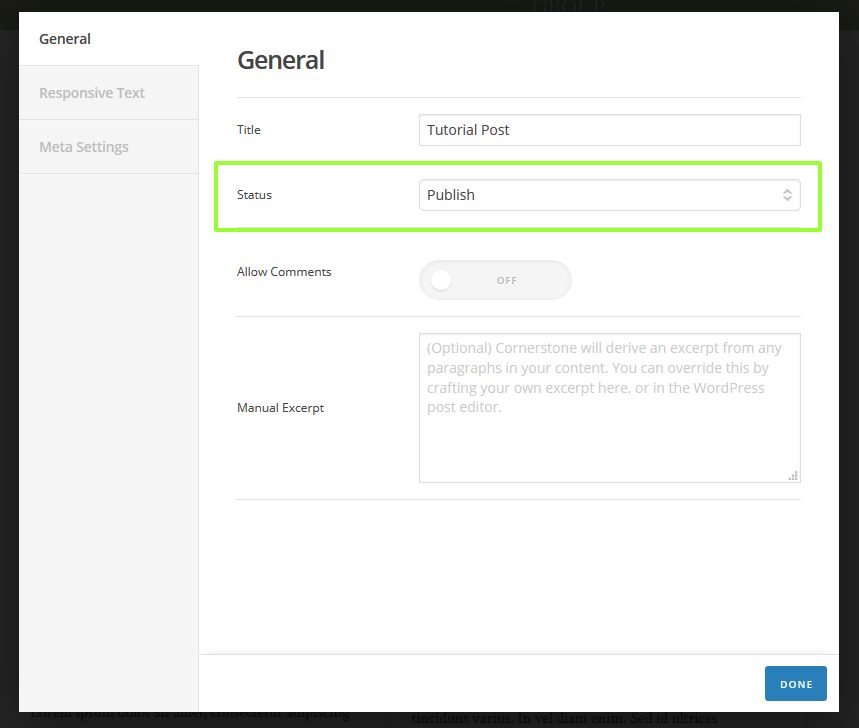
- Save your page
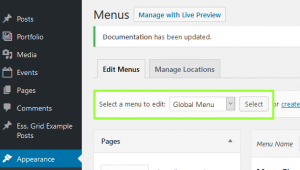
Add the page to the Global menu
- Navigate to the WordPress dashboard
- In the sidebar click on “Appearance → Menus”
- From the “Select a menu to edit“ section choose “Global Menu” and press the Select button
- In the Pages section choose your page by checking on the checkbox (if you cannot find it use the search function)
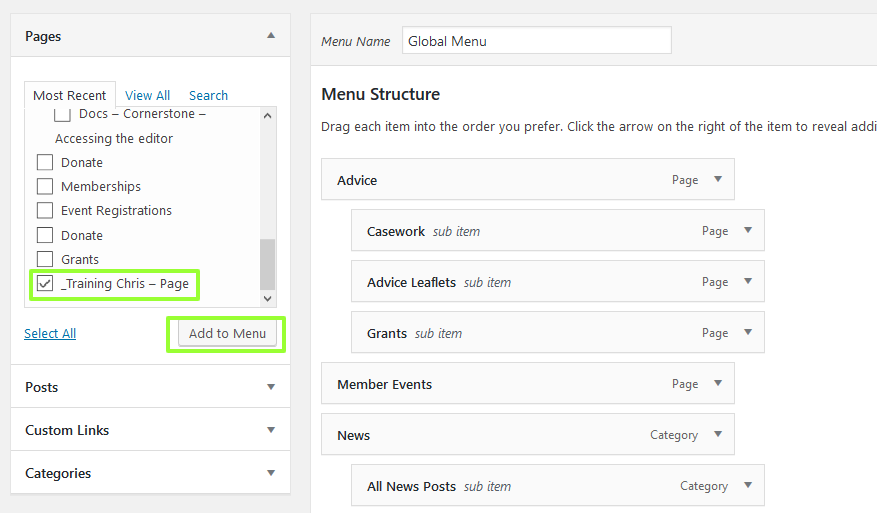
- Click the Save Menu button
Add the post into the side bar
- Navigate to the WordPress dashboard
- In the sidebar click on “Appearance → Sidebars”
- Scroll down to the News side bar and find your post in the All Pages and Posts section and check the checkbox
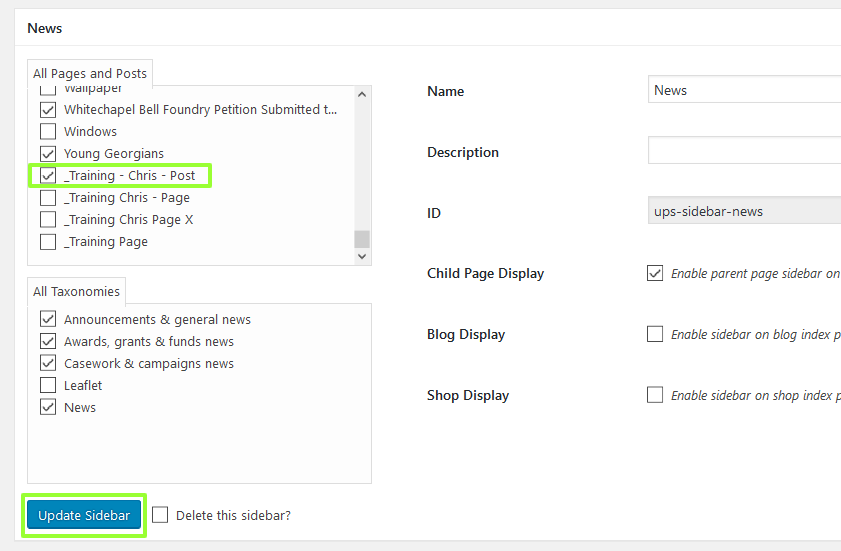
- Click on Update Sidebar
- A sidebar will now appear on your post